

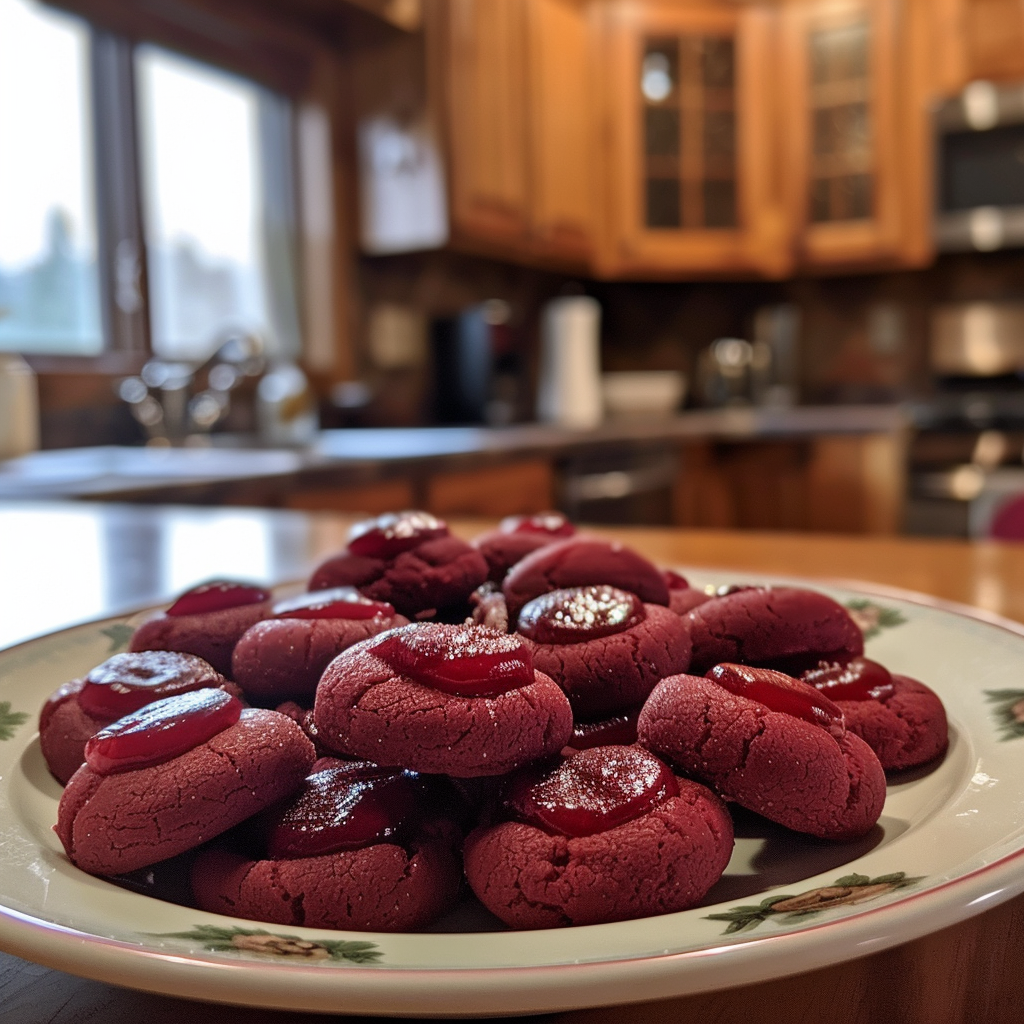
A burst of red, a hint of cream cheese, and the irresistible aroma of freshly baked cookies wafting through the house—can you picture it? Red Velvet Thumbprint Cookies: The Secret to Soft, Chewy Bites is the culinary adventure you’ve been waiting for. Delicious red velvet blossoms Imagine biting into these delightful treats, where every chew combines the soft texture of cookie dough and the sweet surprise of creamy filling.
Now, let me take you back to when I first experimented with this recipe. I was preparing for a family gathering, and my aunt’s eyebrow raised skeptically as she eyed my red-hued creations. But the moment she took a bite, her expression transformed into pure joy. Festive peppermint cookies These cookies have since become the star of every occasion—birthdays, holidays, and even random Tuesday nights deserve a little sweetness!
Why You'll Love This Recipe
- These cookies are not just easy to make; they bring a splash of color to your dessert table
- The flavor balances rich cocoa with tart cream cheese filling, creating unforgettable bites
- Their visual appeal makes them a hit at parties or casual get-togethers
- Plus, they are versatile enough to adapt with different fillings based on your mood or pantry supplies
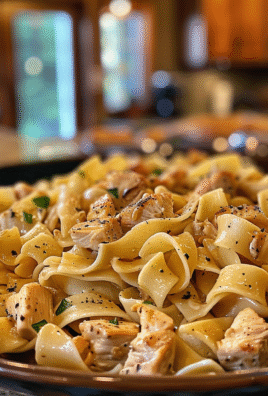
I remember the time I brought these to a potluck—everyone wanted the recipe! For more inspiration, check out this Sweet Potato Toast Recipe recipe.

Essential Ingredients
Here’s what you’ll need to make this delicious dish:
-
All-Purpose Flour: Use standard all-purpose flour for that classic cookie texture; it holds everything together beautifully.
-
Cocoa Powder: Opt for high-quality unsweetened cocoa powder; it gives those cookies their distinct chocolatey flavor. Cherry linzer heart cookies.
-
Baking Soda: Just a teaspoon helps these cookies rise to fluffy perfection.
-
Salt: A pinch enhances flavor balance; never skip this step!
-
Unsalted Butter: Use softened butter for easier mixing and that melt-in-your-mouth quality.
-
Granulated Sugar: Sweeten things up with sugar; it’s essential for that chewy texture. Sweet Valentine’s Day bark.
-
Brown Sugar: Brown sugar adds moisture and richness; I prefer a light brown variety.
-
Large Egg: One egg binds everything together perfectly while adding richness.
-
Vanilla Extract: Use pure vanilla extract; it amplifies flavors wonderfully.
-
Red Food Coloring: A few drops transform your dough into iconic red velvet goodness—don’t be shy!
-
Cream Cheese Filling: Combine cream cheese with powdered sugar; it’s the delicious surprise that awaits inside each cookie.
-
Powdered Sugar (for dusting): A light sprinkle on top adds an elegant finish.
The full ingredients list, including measurements, is provided in the recipe card directly below.
Let’s Make it Together
Prepare Your Dough Ingredients: Gather all your ingredients in one place—it makes everything easier. Preheat your oven to 350°F (175°C) so it’s hot and ready when we’re done mixing.
Mix Dry Ingredients Together: In a bowl, whisk together flour, cocoa powder, baking soda, and salt until well combined. This ensures even distribution of flavors throughout your cookies.
Cream Butter and Sugars Together : In another bowl, use an electric mixer to blend softened butter with granulated and brown sugar until light and fluffy—about 3 minutes should do it!
Add Egg and Vanilla : Mix in one large egg along with vanilla extract; combine until fully incorporated. The batter should appear smooth and creamy at this stage.
Incorporate Red Food Coloring : Add several drops of red food coloring until you achieve your desired hue—this is where your cookies get their signature look!
Add Dry Ingredients Gradually : Slowly incorporate your dry mixture into the wet ingredients using a spatula or wooden spoon. Be gentle here to keep some airiness in the dough.
Chill the Dough : Cover your bowl with plastic wrap and refrigerate for about 30 minutes. Chilling helps prevent spreading during baking which leads to thicker cookies.
Create Thumbprints : Once chilled, scoop out tablespoon-sized portions of dough onto parchment-lined baking sheets. Use your thumb (or any finger) to create an indention in each ball.
Bake Your Cookies : Place them in the preheated oven for about 12-15 minutes until slightly firm yet soft centers remain. The edges should look set but not overly browned.
Add Cream Cheese Filling : After cooling slightly on wire racks, fill each thumbprint indentation with cream cheese filling while still warm so it lightly melts into place.
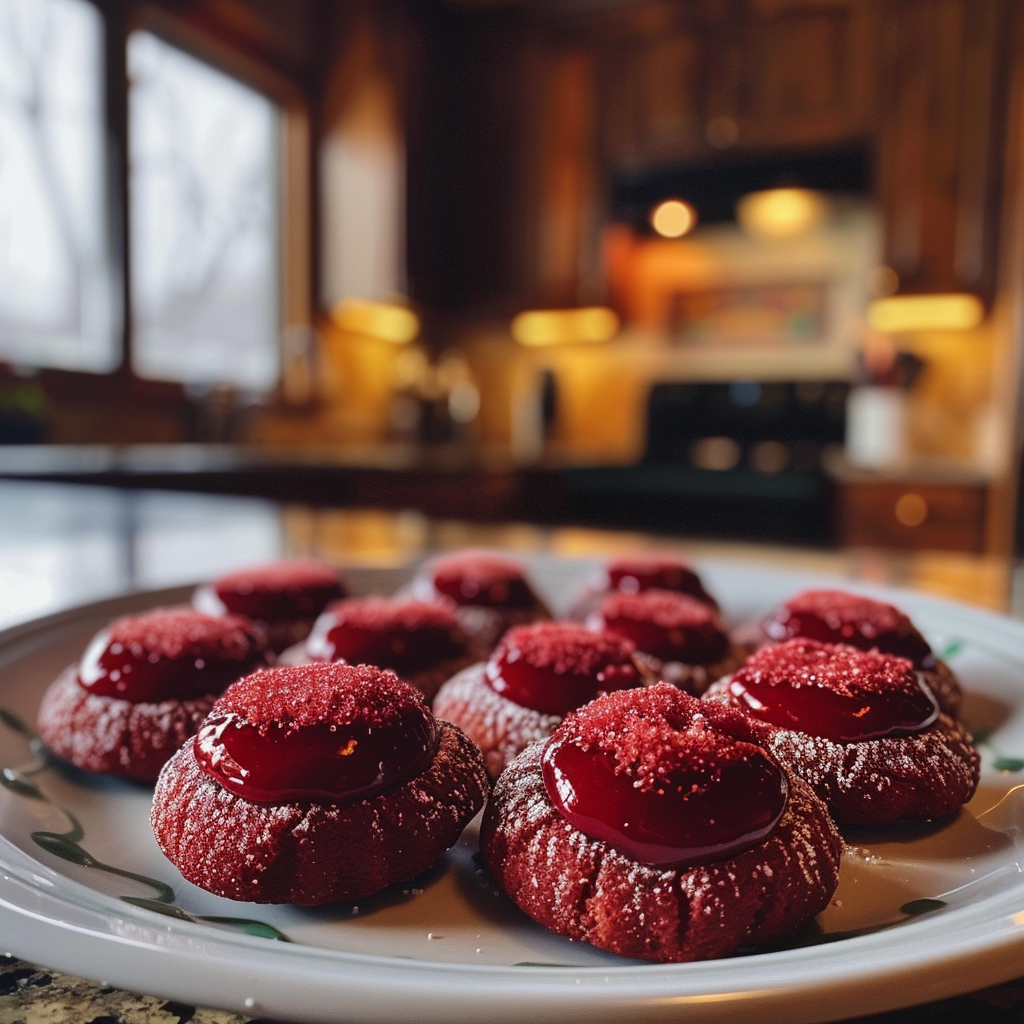
Dust with Powdered Sugar : Finally, sprinkle powdered sugar over the top for that professional touch! It looks stunning against the vibrant red backdrop.
And there you have it—your very own Red Velvet Thumbprint Cookies: The Secret to Soft, Chewy Bites! These delectable treats promise smiles all around from friends and family alike as they relish every mouthful!
You Must Know
- Red Velvet Thumbprint Cookies are more than just visually stunning; they are soft, chewy, and delicious
- They combine the richness of chocolate with a delightful cream cheese center
- These cookies will be the star of your dessert table, leaving everyone craving more
Perfecting the Cooking Process
Start by preheating your oven to 350°F (175°C). Mix your dry ingredients first, then cream your butter and sugar until fluffy. Form into balls and create a thumbprint in each before baking for perfect results. For more inspiration, check out this Thanksgiving Cranberry Turkey Stuffing Balls recipe.
Add Your Touch
Consider adding chopped nuts or crushed candies to the filling for extra texture and flavor. You can also swap out the frosting with your favorite jam or chocolate ganache to make it uniquely yours.
Storing & Reheating
Store these cookies in an airtight container at room temperature for up to one week. If you want them warm again, pop them in a microwave for about 10 seconds before serving.
Chef's Helpful Tips
- Use room temperature ingredients for better mixing and texture
- Make sure not to overbake; they should be soft in the center
- Experiment with different fillings to find your perfect combination!
Sometimes, I still remember that time my friends devoured these cookies within minutes at a gathering. It felt amazing sharing something I created that brought so much joy!
FAQ
Can I use cocoa powder instead of chocolate?
Yes, using unsweetened cocoa powder works well for a similar flavor profile.
What can I substitute for cream cheese in the filling?
Mascarpone or ricotta can be great alternatives for creaminess without losing flavor.
How do I prevent the cookies from spreading too much?
Chill the dough before baking to help maintain their shape while cooking.
Red Velvet Thumbprint Cookies
- Total Time: 30 minutes
- Yield: Approximately 24 cookies 1x
Description
Indulge in the delightful world of Red Velvet Thumbprint Cookies, where soft, chewy cookie dough meets a luscious cream cheese filling. With their striking red hue and rich cocoa flavor, these cookies are not only visually stunning but also incredibly satisfying. Perfect for any occasion, they will impress your guests and leave everyone reaching for more. Follow this simple recipe to create these irresistible treats that are bound to become a favorite!
Ingredients
- 1 cup all-purpose flour
- 1/4 cup unsweetened cocoa powder
- 1 tsp baking soda
- 1/4 tsp salt
- 1/2 cup unsalted butter (softened)
- 1/2 cup granulated sugar
- 1/4 cup brown sugar (light)
- 1 large egg
- 1 tsp vanilla extract
- 2 tsp red food coloring
- 4 oz cream cheese (softened)
- 1/2 cup powdered sugar (for filling and dusting)
Instructions
- Preheat oven to 350°F (175°C).
- In a bowl, whisk together flour, cocoa powder, baking soda, and salt.
- In another bowl, cream the softened butter with granulated and brown sugar until fluffy (about 3 minutes).
- Mix in the egg and vanilla extract until smooth.
- Stir in red food coloring until desired hue is achieved.
- Gradually add dry ingredients to wet mixture and mix gently until combined.
- Chill dough for 30 minutes in the refrigerator.
- Scoop tablespoon-sized portions onto parchment-lined baking sheets, creating a thumbprint indentation in each ball.
- Bake for 12-15 minutes until edges are set but centers remain soft.
- Fill cooled cookies with cream cheese filling and dust with powdered sugar before serving.
- Prep Time: 15 minutes
- Cook Time: 15 minutes
- Category: Dessert
- Method: Baking
- Cuisine: American
Nutrition
- Serving Size: 1 cookie (30g)
- Calories: 120
- Sugar: 10g
- Sodium: 50mg
- Fat: 6g
- Saturated Fat: 3g
- Unsaturated Fat: 2g
- Trans Fat: 0g
- Carbohydrates: 15g
- Fiber: 0g
- Protein: 2g
- Cholesterol: 25mg


Leave a Comment